

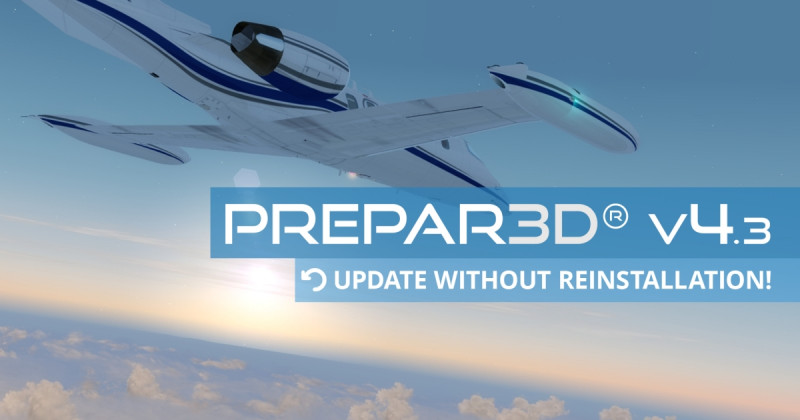
With the release of Prepar3D v4.3 (We reported) it starts again: "Now I have to reinstall my flight simulator", writes one or the other user indignantly in forums or social networks. A complete new installation is no longer necessary since Prepar3D v3. That's why we've created a simple guide for you on how to update it without reinstallation. Then nobody has to deal with the idea of wanting to defenestrate the Flight Simulator PC.<!--more--> [su_spacer size="20"]
Tell us what you think...
[Opinion8 pollid="1522"]
[su_spacer size="20"] The Flight Simulator Prepar3D v4 has a modular structure, it consists of client, content and scenery. All three modules can be installed, uninstalled and updated separately. While the client module is the core of Prepar3D, the content module contains content such as aircraft, instruments, weather, effects and much more. The scenery module contains the basic scenery of the simulator, i.e. the terrain and the airports.
[su_row][su_column size="1/1" center="no" class=""][xyz-ihs snippet="Text-Ad-within-Content"][/su_column][/su_row]
[su_spacer]
1. Upgrade Prepar3D v4's Client
Usually it is sufficient to update only the client module of Prepar3D v4. Content and Scenery do not need to be updated in most cases. So we download the appropriate program for the installation from your Prepar3D customer account.
1.1 Finding the Client Download
The download link for the individual modules in the customer account is a little bit hidden. Therefore we must first click on "+ Individual Component Downloads (click to expand)" on the download page. Then the menu with the download links to the individual modules opens. [caption id="attachment_964" align="aligncenter" width="889"] To update the client we need the separate components of Prepar3D. We've coloured them red here.[/caption] [su_spacer size="16"] Now we download the file "Install_Client.msi". We can safely ignore all other files listed under "Individual Component Downloads".
1.2 Uninstalling the old client
Next, the old client - in our case Prepar3D v4.2 - must be uninstalled. Therefore we go to the Windows Control Panel and search for "Prepar3D v4 Academic Client". If you own the Professional version, you have to search for "Prepar3D v4 Professional Client". The same applies to other licenses (for example the Developer License). Double-click to start the uninstallation. [caption id="attachment_963" align="aligncenter" width="889"] Uninstall the Client now in your system control center[/caption] [su_spacer size="16"] During uninstallation, a window will open asking if we want to disable our Prepar3D license. Because we want to continue using the flight simulator on the same PC, we click on "No". [caption id="attachment_962" align="aligncenter" width="889"]
 Here you can just click "no"[/caption] [su_spacer size="16"]
1.3 Installing a New Client
Since the old client (Prepar3D v4.2) has been uninstalled, we can now install the new client just downloaded (Prepar3D v4.3). Therefore we are looking for the new installer and run it. The installation will then be done automatically. [caption id="attachment_961" align="aligncenter" width="889"] The new client installs itself.[/caption] [su_spacer size="16"]
1.4 Check version
With the installation of the new client we have almost done it. But now we should check if we really have installed the right version. To do this, we simply take another look at the program overview in the Windows control panel. Prepar3D v4 Academic Client" should now be v4.3. [caption id="attachment_960" align="aligncenter" width="889"] In the System control center we can check if the update was successful.[/caption] [su_spacer size="16"]
1.5 Delete Shader and Prepar3D.cfg (optional)
Lockheed Martin recommends that you delete the old shaders and Prepar3D.cfg after the update. This step is optional and therefore not a must. If you delete the Prepar3D.cfg, you have to readjust your settings afterwards. Therefore, this step can be too cumbersome for some users. The shaders and the Prepar3D.cfg can be found in the following folders:
- Prepar3D.cfg: C:\Users\YOUR USER\AppData\Roaming\Lockheed Martin\Prepar3D v4
- Shader: C:\Users\YOURUser\AppData\Local\Lockheed Martin\Prepar3D v4\Shaders
With Prepar3D.cfg it is enough to simply delete the file. Alternatively, you can rename.cfg to "Prepar3Dv42.cfg.bak", then there is still a backup. With shaders simply delete all files from the folder.
[su_row][su_column size="1/1" center="no" class=""][xyz-ihs snippet="Text-Ad-within-Content"][/su_column][/su_row]
[su_spacer]
2. Update third-party add-ons for Prepar3D v4.3
[caption id="attachment_959" align="aligncenter" width="889"] Fully automatic update: The developers at ChasePlane make it very easy for their customers to update. Unfortunately, this is not the case with all designers.[/caption] [su_spacer size="16"] After the client update from Prepar3D v4.2 to Prepar3D v4.3 it is urgently necessary to update numerous add-ons accordingly. Here is a short ove

